 |
| Himeji Castle in Hyōgo Prefecture |
Disclaimer:
All the prices I will be declaring in this post is the ADULT price (18 years old
and above). Prices are discounted for children, students and minors. Terms and
conditions apply.
Arguably one of the biggest chunk of the
cake in a budget traveler’s expense is the transportation. In a country like
Japan, this is very, VERY true. One train or bus ride in Japan costs around
200-230 yen (around 83 PHP or 2 USD*). This is the base fare and it would even
cost higher the farther your destination is from your starting point. With
commuting being a bit expensive, how can travelers in Japan make most out of
their trip? Luckily, I found a way to work around this problem.
The different railway and bus companies
operating in Japan offer passes that can give a commuter UNLIMITED rides on a
certain duration ranging from one calendar day to a month. However, one must
take note that since there are MANY companies operating in Japan, a pass may
not work on some train or bus lines. This is different on some countries where
one card can work on all subway lines such as the Octopus Card in Hong Kong.
 |
| Passengers onboard a train |
During my 12-day solo travel in Japan, I
was able to cover 10 cities in 3 regions using several passes: Sapporo and
Otaru (Hokkaido), Narita and Tokyo (Kanto), Kyoto, Nara, Uji, Kobe, Himeji and
Osaka (Kansai). On this blog post, I will be giving out details on passes I
used on my trip and will be comparing them to several passes also commonly used
by travelers.
Trains
and buses for dummies
 |
| A normal train/subway ticket |
Train tickets are bought on ticket vending
machines. Unlike trains in some countries where you can click the destination
on the map projected on the screen of the machine then you would know your fare,
Japan ticket vending machines only show the TICKET FARE PRICE. Don’t fret
though, the stations along a line and its corresponding fare is shown on the
train map above the ticket vending machine. When you’re uncertain, don’t be
afraid, just look above you and you will find your answers (lol).
In the event that you miscalculated your
fare or you got down the wrong stop, don’t panic, there are fare adjustment
machines near the exit where you will insert your train ticket and you will see
how much yen is still lacking on your fare.
 |
| Fare adjustment machines (credits to this website) |
Buses are a different story. There are no
bus ticket vending machines. You simply hop on the rear end of the bus and you
pay by dropping your coins or tapping/inserting your card in the machine found
beside the bus driver. Then, you get off on the front door of the bus. Below is
a diagram of a bus in Japan.
 |
| A typical bus found in Kyoto (credits to this website) |
Reloadable
Cards
If you want to save yourself from the
hassle of looking for passes, you can get cards such as an IC, SUICA or PASMO
cards (don’t ask me what these words mean lol). Basically, they’re just
reloadable cards which you can use on all trains and buses. These can be
reloaded on convenience stores like 7-11, Family Mart, Ministop, Lawson, etc.
The downside of these cards is that you will be charged the normal fare unlike
in passes where you can probably breakeven on costs by the second or third ride
on a bus or train.
 |
| Make a wish! Wishing/Prayer blocks in Naritasan temple |
THE
PASSES
These are some of the most commonly used
passes in Japan. Note that there are A LOT of passes being sold other than what
I will mention. These passes are sold to tourists ONLY as they require your
passport upon buying. So be sure to have your passport on hand once you buy
these passes.
 |
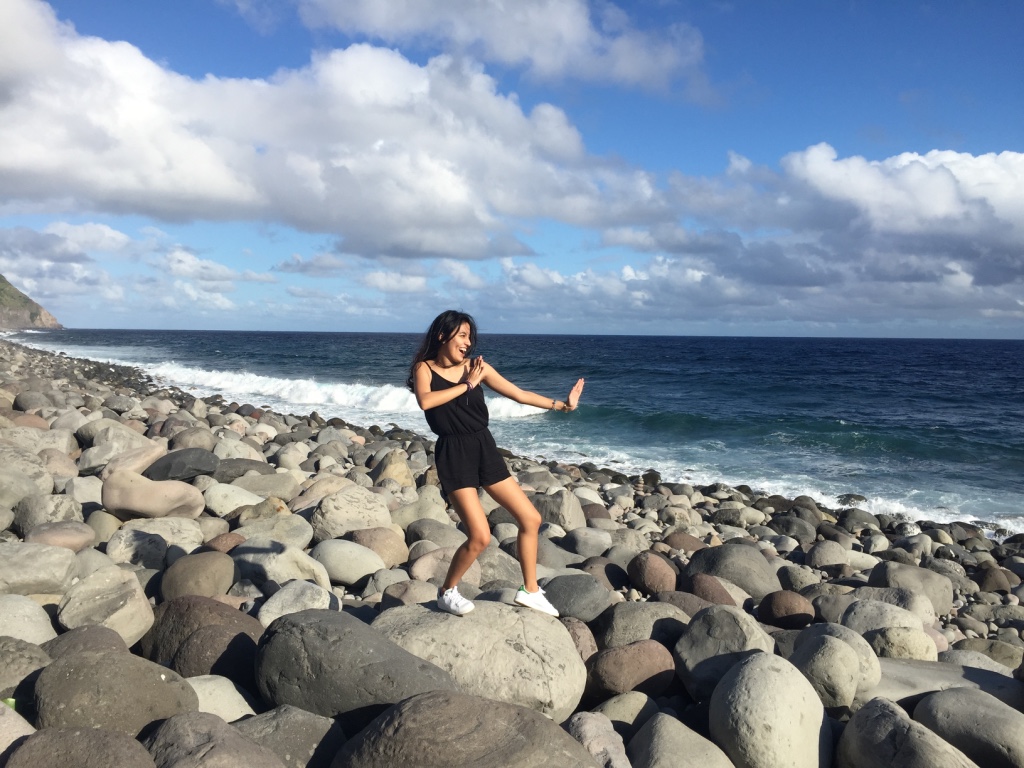
| Enjoying butter beer at Universal Studios in Osaka |
Japan
Railway (JR) Pass. This is the most commonly used pass among travelers. It covers all
the trains and buses operated by JR which includes the coveted shinkansen or bullet train. This is
ideal for travelers doing multi-city trips.
Cost: Ordinary 7-day JR pass: 29110 Yen, 14-day JR pass: 46390 Yen. (for other prices: see this link)
Where
to buy: The JR pass is not sold inside Japan.
Therefore, this must be bought prior to your trip to Japan. For Filipinos,
several travel agencies that offer Japan visa assistance also sell JR passes.
You may also acquire your JR pass thru websites such as this.
Advantages:
With access to the shinkansen, you can go to
several cities around Japan in a matter of hours! And by March 2016, the
shinkansen line will also be able to reach the northern island of Hokkaido thru
Sapporo.
Disadvantages:
Do note that not all the lines are being operated
by Japan Railways so this pass will not work on some trains and buses which
will lead you to buying tickets. This pass is also a bit expensive (costs are
stated above).
You may choose the starting date to which
you can use the pass but once you have started using JR pass, the days of usage
MUST BE CONSECUTIVE. So if you use your 7-day JR pass on the first day of the
month, it will expire and will be unusable by the seventh day of the month at
exactly 11:59PM (terms and conditions apply).
I did not avail of this pass because I
cannot shell out that huge sum of money in one go. I will also be spending so
much money for the JR pass for my duration of stay (again, I stayed for 12 days
so I needed to avail the 14 day JR pass if I want to make most out of my trip).
 |
| Tokyo Metro 3-day pass (yellow, left) and Keisei Skyliner one-way ticket (white, right) |
Tokyo
Metro Subway Pass. During
my stay in Tokyo, I availed of the 3-day subway pass for 3500 Yen. From
the name itself, this pass offers 3-day unlimited rides to all Tokyo Metro and
Toei subway line and a one-way Keisei skyliner from Narita Airport.
Cost:
Tokyo Subway 3-day Ticket + Keisei Skyliner One Way
Ticket – 3500 Yen
Where
to buy: This pass is being sold on Ticket Counters
at Narita Airport, Haneda Airport and more. Peach Airlines also sell these
tickets on their domestic flights headed for Tokyo. I bought mine during my domestic flight from
Sapporo Chitose to Narita Airport onboard Peach Airlines.
 |
| Peach Airline Ticket Catalog |
Advantages:
For 3500 yen, you will be able to ride on TEN subway
lines. If you choose to buy the train tickets separately, a one way Keisei
Skyliner ticket from Narita Airport to Ueno (the last station) costs 2470 Yen
which leaves 1030 Yen for the subway which you can breakeven on the fourth or
fifth subway ride. And this pass is for 3 days! Definitely worth it!
Disadvantages:
Several lines are not covered by this pass. I had
to buy extra tickets when I headed to an area on the outskirts of the city. You
can consult the map here to check whether your preferred tourist spot is on a
station covered by the pass. (The bold colored lines are COVERED by the pass.)
For more info on the variety of passes
offered by Tokyo Metro, you can visit this website
 |
| Kansai Thru Pass with a free guidebook |
Kansai
Thru Pass. As the name
implies, this pass can be used for the WHOLE Kansai Region. The Surutto
Network, made up of several train and bus companies, teamed up to give a
traveler a hassle free choice of going around Kansai region by making a
consolidated commuter pass.
Cost:
2-day ticket – 4000 Yen, 3-day ticket – 5200 Yen
Where
to buy: Several outlets can be found throughout
Kansai region that sell this pass. You can find a list of these said outlets here. In my case, I bought my pass from the bus information center in
Kyoto Station.
 |
| Kyoto Station Bus Information Center |
Advantages:
You can go to all the areas inside the Kansai
region! From the wonderful Himeji Castle in Hyōgo Prefecture to world-renowned
outdoor onsens or hotsprings in
Wakayama Prefecture. Also, usage of this pass doesn’t have to be on consecutive
days! You can choose which days you can use this pass provided it falls within
the validity period. However, you must note that a ‘day’ means one calendar day
and NOT 24 hours from the time you started using the pass.
The pass also comes with a guide book
filled with train, subway and bus maps covered by the Thru Pass. Coupons also
come with the pass which you can use on some tourist spots to avail of some
discounts and/or freebies.
Disadvantages:
Cost is a bit pricey for 5200 Yen for 3 days. This
pass is NOT suggested for tourists going to Kyoto-Osaka-Nara ONLY. If you want
to breakeven on costs, I suggest you go to Kobe, Himeji and other areas of
Kansai region as well. Several buses and trains (such as JR line and
shinkansen) are also not covered by this pass. To know more about the
limitations of the Kansai thru pass, you can visit the Surutto Network website here.
 |
| Kyoto City Bus Pass |
Kyoto
One-Day Bus Pass. For
only 500 Yen, you can have unlimited bus rides inside the city of Kyoto for one
calendar day! A bus ride in Kyoto costs around 210 yen so you can breakeven on
costs by the second/third bus ride.
Cost:
500 Yen on one-calendar day (12AM-11:59PM)
Where
to buy: If you are in Kyoto station, you will be
able to buy this on the bus information center (same location with where I
bought my Kansai Thru Pass). There are also vending machines that sell this bus
pass.
Advantage:
Unlimited bus rides in one day. I have noticed that
this pass can be bought by anyone (not just tourists). A free free map comes
along with the pass so you will know which buses stops on a certain tourist
spot. Almost ALL the well-known tourist spots (temples, pavilions, etc.) are inside the bus pass region.
Disadvantage:
The bus pass only covers the flat fare region
inside the city of Kyoto. You will be paying extra if you hopped on or off a
bus that is not covered by the pass. The designated area covered by the pass is
indicated on the map (areas enclosed by red line).
 |
| In front of Sapporo's Old Government Building |
Holiday/Weekend
Pass. On some areas,
such as Sapporo, you can avail of passes cheaper than the usual day pass. A
normal day pass which allows you to have unlimited subway rides costs 830 Yen.
However, on a holiday, weekend or year-end/new year (December 29 – January 3),
you can get the said pass for only 520 Yen! You can breakeven by the second or
third subway ride!
Unfortunately, during my stay in Sapporo, I
wasn’t able to avail of this since I was not informed that it was a holiday. So
sad :( hehe.
Where
to buy: Subway ticket vending machines, tourist
information centers, commuter offices, etc.
You can read more about the Sapporo passes here.
 |
| Attempting to ring (don't worry I didn't!) the bell at Tōdai-ji temple at Nara |
The downside of riding a bus is that the
trip takes 8 hours which a shinkansen can cut down to 2 hours. Still, I highly
recommend you take an overnight bus so that you not only save up on
transportation expenses, you can save up on accommodation expenses too! Plus,
you won’t be able to feel the length of the trip since you’ll be asleep most of
the time. :-P
Where
to buy: You can book your tickets online through
their website here.
Don’t have a credit card? Don’t worry! You
can pay for your tickets via convenience stores such as Family Mart, etc. Just
make sure to follow the directions which will be sent to your email. This is
actually what I did since I saved my credit card for emergency expenses during
my trip.
THE
VERDICT
The table below shows my TOTAL
transportation expenses throughout my 12 day stay in Japan.

Comparing this to the 14-day JR pass, you
will be able to save MORE THAN 6000 yen! Why did I say more than? It’s because
as what I have said earlier, not all the lines and cities are covered by the JR
pass (such as Kyoto). Buying extra train tickets or riding a non-JR pass
covered bus will be inevitable. And again, this is also an advantage to people
who cannot produce a huge sum of money in one go to buy a JR pass (I had to
save up for a year and I booked my domestic flight tickets in advance).
Of course, this technique of mine is not
foolproof. There were instances that I had to pay extra because I rode the
wrong train. If you want to save yourself of the hassle of calculating fares or
buying separate passes, then maybe the JR pass or the reloadable card is for
you J
Another technique that I thought of (if you
will be spending more than 7 days in Japan like what I did) is buying a 7 day
JR pass and buying other passes once the pass expires. There are just so many
passes to choose from!
Questions? Reactions? Feel free to leave a comment!
You may also follow my adventures on instagram: @sereneezra
Questions? Reactions? Feel free to leave a comment!
You may also follow my adventures on instagram: @sereneezra


